
OK, as promised, (about two weeks ago!) here is your quick and easy Tie-dye tissue paper tutorial. It’s kid friendly, and makes a really pretty end product.
First question: Why would you want to do that?
Well, it actually started as an accident. As I was transporting supplies to the group one Wednesday, there was… an incident. With my fizzy water. It spilled into the supply box and things got a little sticky. But, we later found that the moisture had caused our tissue papers (which we use to make jar lanterns) to bleed colour onto each other. They looked amazing! Later, I tried to reproduce the same effect at home–and ended up with a pile of soggy paper. Which brings me to:
Second question: How do you do that?
At this point, I did what any crafter does in their uncertainty: I went to Pinterest. From there, I found cool links like this one from Honest to Nod. She and her kids did an awesome Tie Dye upcycle with their leftover packaging tissue. The tutorial has great illustrations on how to fold the paper too.
Third question: What does this have to do with upcycling?
Ahh. Well. The tutorial above used food colouring and liquid watercolours to dye the paper. But then I had a handy flashback to my student days in the dorm and remembered what we used to make tie dyes then: dried up old felt tip pens! (This is awesome for us, given that my kids are terminally unable to remember putting the lids back on their markers.) Pair those old pens up with some used gift wrapping tissue and you’re set to make something pretty from a pile of old rubbish.
What you need
- dried up marker pens
- tissue paper
- water
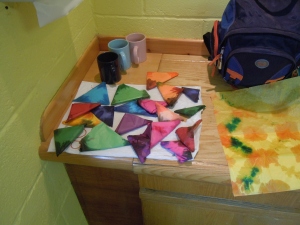
Step 1: Fold up your tissue paper
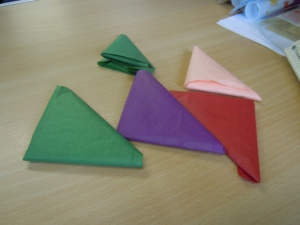
Honest to Nod gives instructions on how to fold into a neat triangle, but other shapes are just as good.
2. Pull the centre out of your markers
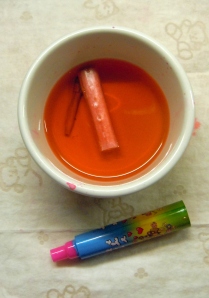
I used pliers to pull off the end of the marker. Then pulled out the dye-soaked wadding in the middle and the tip of the marker. Put those in a bit of water to soak.
3. Dunk your tissue
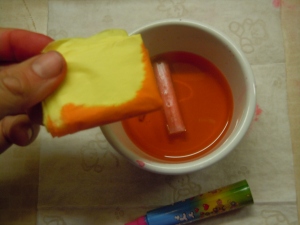
Soak the corners of your folded tissue paper in the coloured water. You can use different colours on different corners for a fun effect.
4. Try to avoid this:
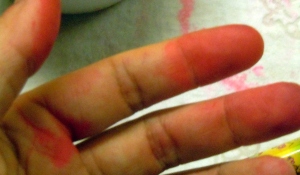
If you allow the dye to touch your hands, they’ll be coloured for days. (However, your kids may think it makes you look pretty).
5. Put the dyed paper aside to dry.
Optional: Drink copious amounts of coffee while you wait. Also cake.
6. Unfold
When the paper is dry, unfold it carefully and behold the glorious patterns you have made: 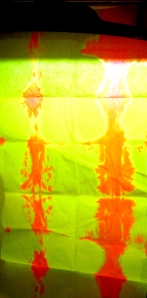
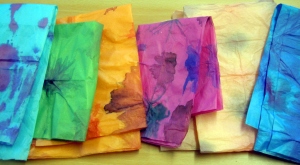
You can put them aside for funky gift wrapping, Or <drumroll>
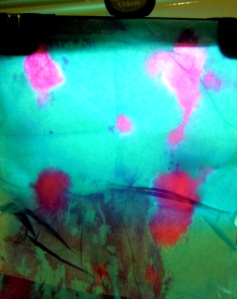
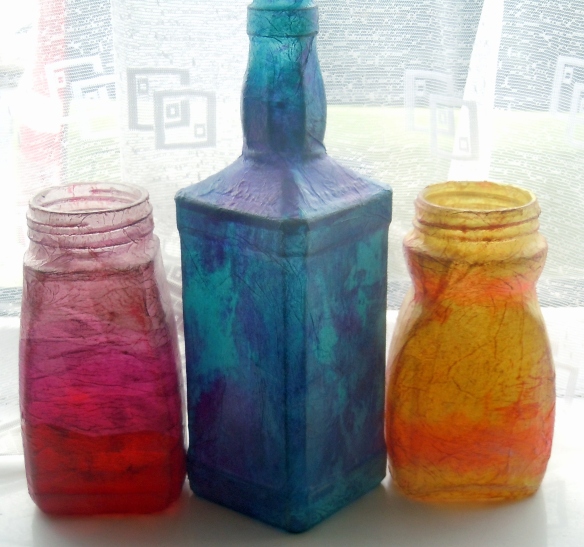
Visit this tutorial on buttoneering.com to learn how to turn your tie dyed tissue paper into awesome jar and bottle lanterns like these:
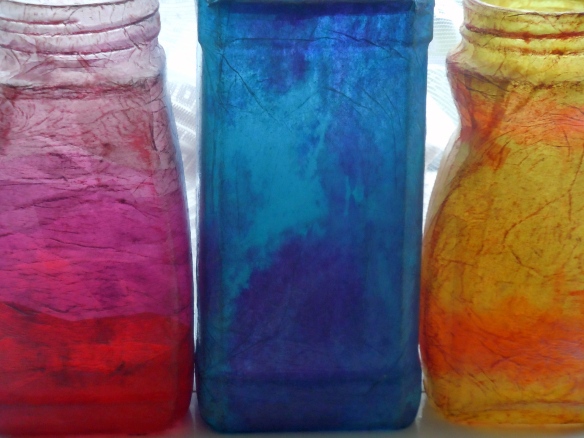
Extreme close up:
So grab your kid’s old markers and go for it! And while you’re at it, don’t forget: 6 days left in our Annual Christmas Crap competition, and our current total is a whopping 132 Quality Street wrappers in one envelope! Keep that rubbish coming in!
